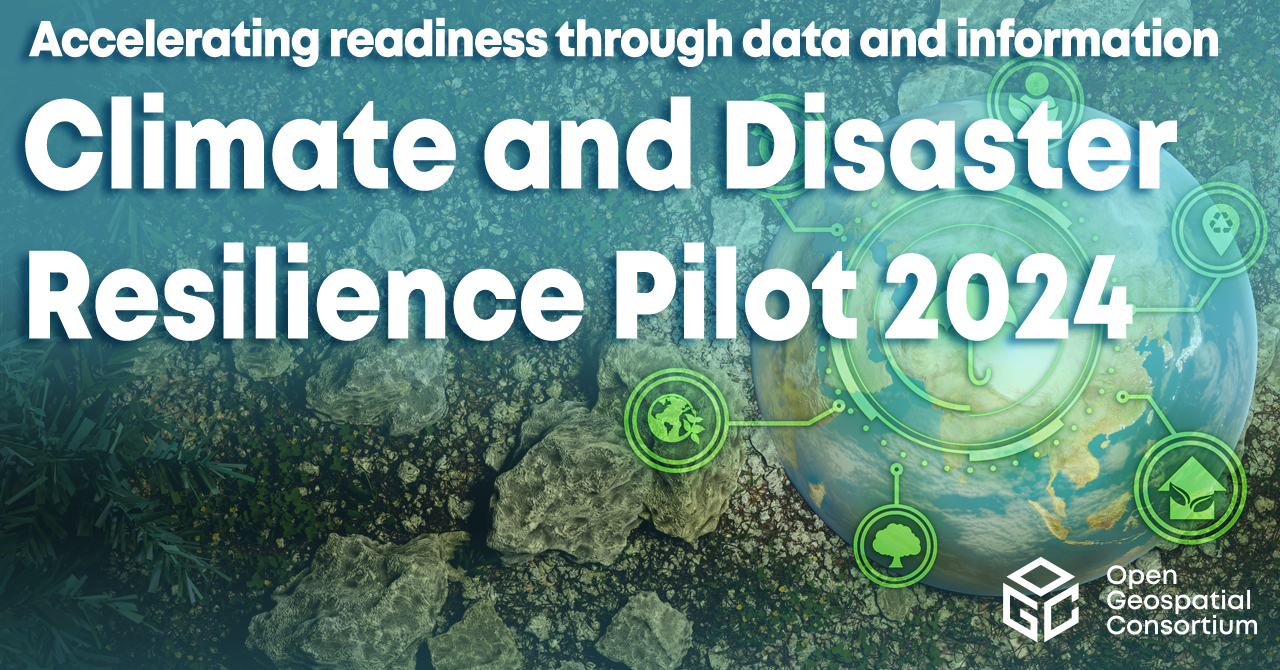
Home
OGC Network

Accessing Web Feature Services with uDig

by Mike Pumphrey of OpenGeo
January, 2009


Web Feature Service (WFS) is a protocol for transmitting geographic information over the web.  WFS doesn't transmit map graphics (i.e. static images of rendered geographic data), but instead provides raw geographic data and metadata.  Information transferred through WFS can be thought of as the “source code” of the map, building blocks that can be used to create maps.  WFS is an open standard, created by the Open Geospatial Consortium, an international voluntary standards organization. 

Why use WFS?

There are many advantages to employing WFS in your software stack.  In this document, we will explore some of the strongest benefits.

  • Not just a pretty picture - WFS is the actual geographic data and attributes of that data.  This means that geographic analysis is possible, not just visual representation.
  • Standardization - WFS is not owned by any one company, but is instead organized by an alliance of many organizations, all with a stake in making the standard successful.  This makes comparisons of different software platforms easier, as one unifying standard allows them to compete on their own merit.
  • Interoperability - Since WFS is an open standard, both open and proprietary software solutions can leverage WFS in order to share data.  This means that using WFS does not lock you into one company, one software, or one solution, but can instead be used with multiple server and client technologies.
  • Web-based - WFS is a web-based protocol, with all of the benefits that this entails.  Minimal architecture is required on the client side to access data (web-access and a browser, at the minimum).  Data can also be retrieved and visualized from multiple WFS servers.  Data can be accessed and even edited by multiple people simultaneously.
  • Non-local - This point bears repeating.  Because WFS is web-based, this eliminates the need to have a local copy of data, and allows data providers to be the custodians of the data.
  • Only the data you need - WFS allows you to tailor your data to your needs by means of filtering.  Data can be filtered by location and/or by data attributes.  This prevents unnecessary transmittal of extraneous data, allowing for a more streamlined workflow.
  • Editing - WFS allows for transactions, which means that data can be edited as well as retrieved.  This two-way communication enables all the benefits of a local solution, without the infrastructure requirements.
  • Security - With editing power comes responsibility.  Since WFS is web-based, a server can employ standard security/authentication methods, preventing unauthorized access, and providing granular access as needed.

Although there are many scenarios that could leverage these advantages, let us just take one to give an idea.

You work for an agency that aggregates information, and you've been sent out into the field to collect more.  Armed with a device (handheld or laptop) you can connect to the main data server, retrieve geographic features and their metadata, and then make changes to that data then update the server's information.  Then new data can be created and sent to the server as well.  Instead of a more traditional process of taking notes in the field and reporting back afterwards, all of this data collection and transmittal can happen in real time, allowing others to immediately benfit from your data collection.

All of this is possible using WFS.


Using WFS with uDig

There are many programs that can send and receive data using WFS.  In this document, we will discuss a client-side application called uDig (User-friendly Desktop Internet GIS), by Refractions Research.  uDig can take advantage of some of the most powerful functions of WFS.  uDig can be downloaded from http://udig.refractions.net .  Binaries and source code are available for all major operating systems.

The newest builds of uDig support the newest version of the WFS specification (1.1.0).  Since this functionality isn't in the latest released version of uDig (also 1.1), we will be using a compiled build of the next version (1.2), which can be downloaded here (Windows only, currently):  http://files.opengeo.org/udig-wfs11/

Let's start by opening the application and viewing the workspace.  The workspace of uDig allows for different ways of managing your data.  While a comprehensive look at uDig's workspace is beyond the scope of this document, it is worth noting that uDig uses the terms “project” “map” and “layer” in regard to its workspace.  A “layer” is the most basic display of geographic data (Ex: the country boundaries of the world; locations of earthquakes in California).  Multiple layers make up a “map”, and multiple maps make up a “project”.


mainudigwindow

Figure 1:  The uDig workspace


Now let's load a layer into our workspace.   Go to File New New Layer.  


filenewnewlayer

Figure 2: Creating a new layer


The Add Data dialog will appear.  As you can see, there are a number of ways that uDig can read data, ranging from local files (shapefiles, graphics files), databases (PostGIS, MySQL, etc) and OGC services (WMS and WFS).  Select the option entitled “Web Feature Server.” 

adddatawfs

Figure 3: Connecting to a Web Feature Server


On the next screen, there is a space to enter the URL of the WFS.  What we want to do here is enter the URL which directs to the “GetCapabilities” document of the WFS.  The GetCapabilities document is a list of all layers, operations, and other options supported by the WFS.  The document is encoded in XML, and so isn't very readable by humans, but uDig filters and displays only the relevant details to us.

Enter the following URL:  

http://sigma.openplans.org/geoserver/ows?service=WFS&request=GetCapabilities

and click Next.  (Leave the Advanced box unchecked.) 

adddatewfsurl

Figure 4:  The WFS GetCapabilities URL


uDig will return a list layers available through that WFS.   For our purposes, select the layer entitled USA Population by checking its box and clicking Next (note that multiple layers can be selected at one by checking multiple boxes).


adddatatoppstates

Figure 5:  Selecting a layer

The geographic data associated with this layer, along with all relevant metadata, will be added to a new project in uDig.

woohoo

Figure 6:  A layer successfully added to uDig


Now that the data is loaded, there are many things that one can do.  Let's take a look at the tools we have at our disposal along the top of the screen.

tools

Figure 7: Tools


There are four sets of toolbars here.  The first toobar is the standard New, Save, and Save All options found in the File menu.  The second toolbar has one icon to prepare a page for printing.  The third toolbar concerns moving around the layer.  The fourth toolbar concerns identifying and drawing features.

The tools in the third layer are, in order, as follows:  Back, Forward, Refresh, Stop, Zoom to Max Extent, Zoom In, Zoom Out, Show Selected Features, Commit Changes, and Rollback Changes.  Many of these tools are self-explanatory, and/or work like a normal web-browser.  Show Selected Features zooms in (or out) to the features that are selected (more on selection in a bit).  Commit Changes and Rollback Changes refers to any edits made to the features that you wish to save to (or revert from) the server.

The fourth toolbar contains the following tools:  Zoom, Pan, Select Features, Feature Information, Select/Edit Geometry, Create Feature, Delete Feature, and Location.  The Zoom and Pan tools are simple navigation tools.  Select Feature allows you to select features based on a box drawn on the layer, selecting all feature that intersect it.  Feature Information generates a list of attributes associated with a particular feature.  The other tools are about creating, editing, and deleting features.

Let's use some of these tools.  Zoom in to Kansas by repeatedly clicking the Zoom In button (or better yet, by using the Zoom tool and drawing a box around the state):

zoomtool

zoomtool2

Figures 8,9: Zooming into Kansas


Note that there are other ways of accomplishing this as well.  You could use the Select Feature tool and click on Kansas, and then use the Zoom To Selection tool to automatically zoom right in.

kansasinfo

zoomks

Figures 10,11: Selecting and zooming into by feature


To zoom out again, you can either use the Zoom To Max Extent tool, or the Back tool (to go to the previous view).

Let's find out what metadata is associated with Kansas.  We can click on the Feature Information tool, and then click on the state.  An “Information” tab shows up at the bottom, with a list.

kansasinfo

Figure 12:  Kansas metadata


Notice next to the Information tab there is a “Table” tab.  This shows the list of metadata for every feature in the layer, in tabular form.  Click the “Table” tab to see the full list.


table

Figure 13: Table of data for the layer


Feature selections can be made by selecting the relevant row(s) in the Table.  Click on a few (hold Ctrl to select multiple features) to select them.

Since WFS transfers the map data, not map graphics, we have the ability to restyle the map in any way we choose, either globally, based on attribute, or even complex filters based on zoom level.  While styling is a large topic, we will show the basics of it here.

To change the style of the layer, click on the little palette icon, or right click on the layer and select Change Style.

changestyle

Figure 14: Change style


The Style Editor dialog box will appear.

styleeditor

Figure 15: Style editor dialog box


Let's make the states green with a black border.  Click on the blue swatch next to the word Line and select a black color.  Then click on the blue swatch next to the word Fill and select a green color.  Then Click OK.

styleeditor2

greenus

Figure 16, 17: Changing the color of the US


You can also filter by attribute.  Go back to the Style Editor, and click on Theme.  Change the Attribute to SAMP_POP (for population), change the Classes to 10 (to divide into 10 colors), in the Palette click on RdYlGn, and then click the Reverse button (to make the higher population colors be red, and the lower population colors be green).  Click OK to see the resulting map.

cloropleth

colormap

Figures 18,19: Making a thematic map


The document just scratched the surface of what can be done with WFS (and uDig).  Whether you're an end-user, a system administrator, or a cartographer, WFS is a protocol that benefits everyone.  For more information, please the OGC website at http://www.opengeospatial.org . Happy mapping!